
Ceramic pots are pretty beautiful, and they look stunning indoors. These pots are relatively cheap, and their weight is less as well. But one of their most significant issues is that they usually don’t come with holes at the bottom. And that is a big issue as it will harm the plant. We will talk about that later in the post.
This post will provide you with all the necessary information to drill a hole in ceramic pots. We hope these will be of help to you.
Why Drill a Hole in Ceramic Pot?
Whenever we water our plants, the water settles down at the bottom of the pot. Now, this water sits there for quite some time and makes the soil soggy, and also, after a few days, molds or root rots start to grow. When not dealt with on time, this leads to the plant’s death.
But this could be easily avoided with a small hole at the bottom of the pot. This hole will allow the water to pass through and moisten the soil. And this is why you need to drill a hole in a ceramic pot. If you are planning to drill holes in your indoor plant’s pots, then make sure to put the pot in a saucer, or the whole area might get drained by water.
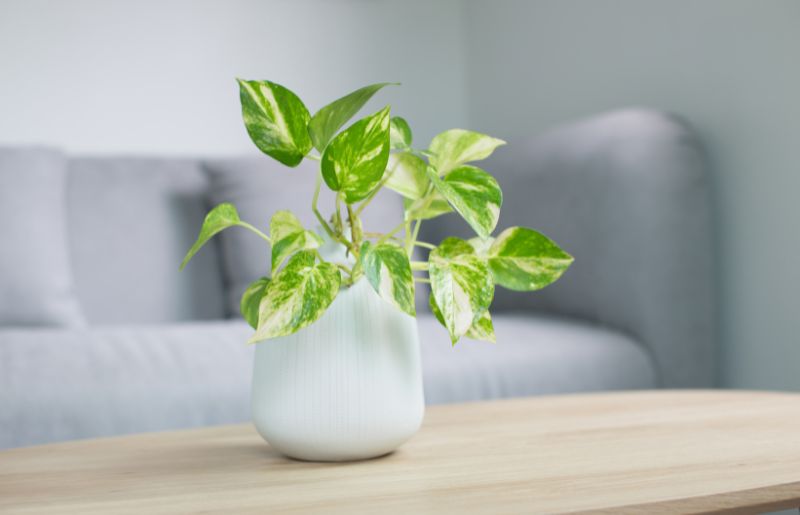
If your pothos is not rooting, you need to read Why My Pothos Is Not Rooting?
How to Drill A Hole In A Ceramic Pot?
The drilling part is somewhat easy, but there is equipment that you need before getting started with it.
Equipment For Drilling
Here is the equipments you need to drill a hole in a ceramic pot.
- Drill Machine (Cordless or with cord)
- Safety Goggles
- Ceramic Pot
- A Drill bit of ceramic pots.
Steps To Drill Hole In A Ceramic Pot
Step 1: Set Up The Drill Machine & The Drill Bit
Take the Drill Machine and add the drill bit to the machine. Before doing that, make sure that you have the right drill bit. There are drill bits specifically made for drilling in ceramic objects such as Pots, Tiles, etc.
These bits are kind of similar to a wet saw. They can be found in online stores or hardware stores near your house. It might seem like they are quite expensive, but they are pretty cheap.
Step 2: Add Water To The Bottom Of The Pot
Turn the pot upside down and add a bit of water to its top part. This is because drill bits become hot while drilling and can cause objects to crack or break. Water acts as a coolant here and keeps the drill bit cool.
Before you start the drilling process, put on your safety goggles, or you might have dust in your eyes. Also, mark the spot where you plan to make the hole.
What type of pots should you choose? Read Terracotta vs. Concrete Pots for Plants (WHICH to Choose?)
Step 3: Drill At An Angle
Placing the drill bit at an angle of 45 degrees would do you good, as this will help you stay on course, or you might lose the mark. Before you start the process, place the pot on a semi-soft or soft surface; this will provide you with a grippy effect.
A hard surface such as wood or your floor will create a vibration-type effect that can make cracks appear on your pot. To avoid that, you can put the pot on grass or a towel, reducing the vibration. Also, start the drilling process slowly and then increase the momentum.
Step 4: Keep It Straight
Once the process starts and if you sense that the process is going well, make the drill machine straight or 90 degrees. When that is done, push the drill bit onto the spot while drilling. But when you feel that you are at the end of the process, release the push and do it normally.
If the push is not released, then there is a chance that the pot might break or crack.
And that’s it. This is how you drill a hole in a ceramic pot. It is recommended that you don’t make the hole too big as there is a chance that soil might come out of the pot along with the water.
Though it is a good idea to make a giant hole than the drill bit’s size, having too big of a hole is also a problem. You can also make two or three holes the size of a drill bit to ensure proper water drainage.
If you are trying to trim dead plant leaves, read How To Trim Dead Plant Leaves (do it the right way!)
Adding The Plants
When you are done with all the steps mentioned above, you can add soil to the pot and place the plant in it. If you are worried about drainage issues, adding a thin pebble layer at the bottom would also do you good. This will ensure that the water gets appropriately drained without losing any soil.
Frequently Asked Questions
Q: How many holes should I add?
A: Two or three holes would be enough, as adding more would drain all the water.
Q: Which type of drill bit should I buy?
A: A diamond drill bit would be ideal for ceramic pots.
Q: What should be the size of the hole?
A: The holes could be around the size of the drill bits, but you can make them bigger than that, too, if you want.
Wrap Up
And that’s it. These are all the steps that you need to follow to drill a hole in ceramic pots. Follow the steps accordingly, and you will be good to go. Also, don’t rush the process; take your time as the material you are working on is delicate.
Leave a Reply