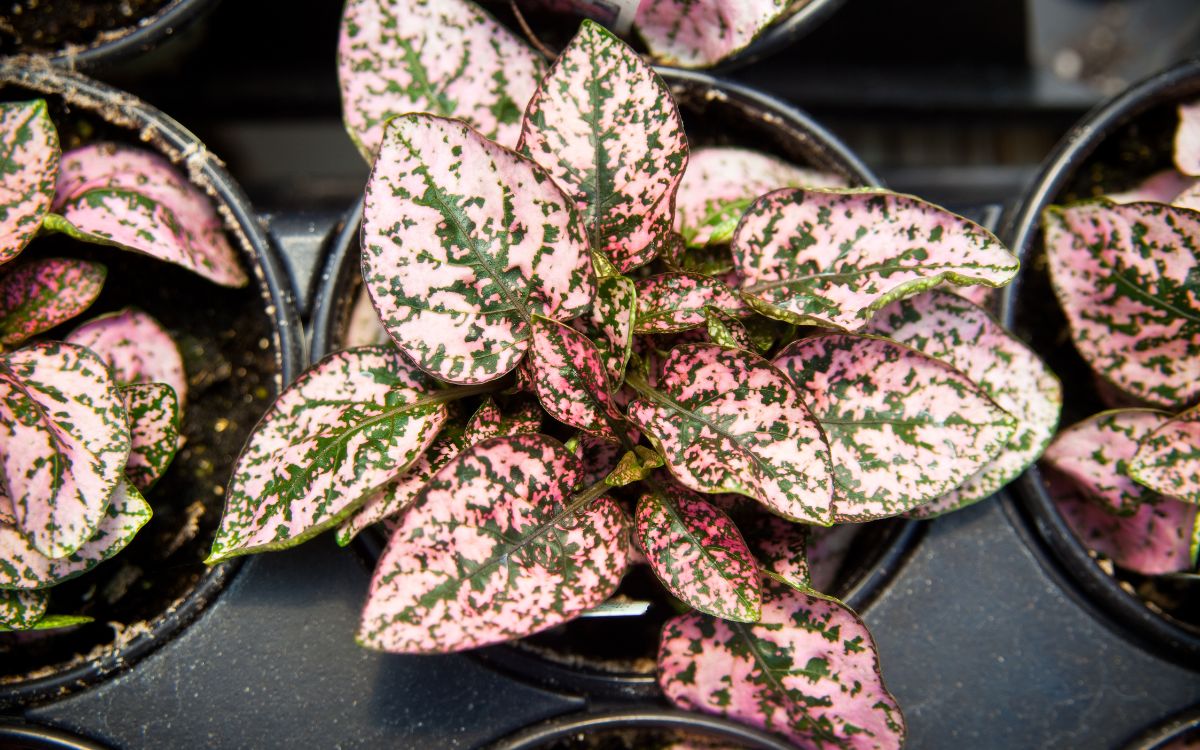
Polka Dot plants, also known as Hypoestes Phyllostachys, are unique house plants as they come in various colors. Compared to other plants, polka dot plants are easy to propagate, but you must be careful. So, if you are trying polka dot plant propagation or propagating polka dot plant, this in-depth guide is for you.
Here, we share all the necessary steps to propagate your polka dot plants. We hope you will find the information provided here helpful.
What You’ll Need To Propagate Polka Dot Plant?
Before starting your Polka Dot plant propagation, you must acquire all the necessary things. We have provided a list of all those things below, and we hope this information will help you.
- Shears or Sharp Scissors (Make sure they are clean)
- Pots with and without drainage holes. (Keep a couple of them)
- Fresh Water and Soil
- Clean Transparent Container
- A Mature and Healthy Polka Dot Plant
- Newspapers (If working indoors)
- Rooting Hormone and Gardening Gloves.
Now that you have all the necessary things, we can move to the next step to propagate the polka dot plant.
Are you trying to prune your polka dot plant? To learn more, read How To Prune Polka Dot Plants.
How to Propagate Polka Dot Plant?
To propagate the polka dot plant, start by finding a healthy stem and cutting it just below the node. Fill a container with water and place the new stem there until it grows root. Now transfer the plant to a pot and follow the routine polka dot plant care tips.
There are two methods by which you can propagate polka dot plants.
- Stem Cutting
- Mother Plant Division.
Check the methods down below.

Propagate Polka Dot By Stem Cutting
This process is straightforward to perform and is actually the primary method of propagating polka dot plants. Check the necessary steps below.
- Find Healthy Stems
The task is to locate a few healthy stems with nodes on them. This is the most critical part, as propagating a polka dot plant would be hard without nodes.
You should also ensure that the stems are healthy and don’t have any signs of pests. This is because stems with signs of diseases or pests would carry the same to the new plant. Growing or propagating these plants would be very hard.
- Cutting The Stem
Cutting doesn’t mean you get to cut anywhere you like. You need to make sure that there are several nodes in the stem before cutting. The cut needs to be made just below a node, so that roots can quickly grow from there. Before you go forward with that, make sure that there are two or more leaves on the stem.
Grab your clean scissors or shears and make the cut. Polka dots are not toxic plants; they generally don’t get affected, but having clean scissors is very important. That is because there is always a chance that you can pass on pests or diseases to the plants through unclean equipment.
- Place It On the Water
Soil is always the best place for potting your polka dot plants but placing it in water increases the propagation success rate.
Grab a clean, transparent container and fill it with normal water. Now, put the stem in the water and ensure that the lowest third of the stem is under water. Putting any more of that underwater will only make it more susceptible to root rot.
Also, ensure there are no leaves under water as they will rot quite quickly. Remove any such leaves from the plant before putting them in the water.
- Expose It To Light And Change Water
After that, place the water-filled container under bright light, but do not put it under sunlight. You can add the rooting hormone at this stage, which will speed up the growth of roots.
Changing the water is very important as this will keep any sort of diseases or pests away. The ideal time would be after every 2-3 days. Stagnant also has a chance of causing root rot.
- Place It In A Pot
After the plant’s roots have grown enough, you can move it to a pot. Make sure the pot is of medium size and has a nutrient-rich mixture. Also, make sure that the soil has good drainage.
Be very careful while transferring the plant to the pot, as the roots might break. After that, you can return to your routine polka dot plant care to nurture the plant.
Don’t forget to water your new polka dot plant properly regularly.
Propagate Polka Dot Plant Through Mother Plant Division
This method can be used only in busy polka dot plants as other types will reduce the success rate.
- Take Out & Separate The Plant
First of all, take out the plant from the pot. Don’t pull the plant too hard, or it might get damaged, do it gently and slowly.
After that comes the part of separating the plant, which totally depends on the size of the original plant. Use shears to divide the plant, or you might end up damaging the plant badly. Untangling the roots is also very necessary to avoid damaging the plant.
- Pot The Parts
The next step is to pot each of the plants. Prepare the number of pots matching the number of plant parts. Make sure the soil has a nutrient-rich mixture, which will help the plant grow quickly. Also, don’t use any old soil mixture as it may harm the newly potted plants.
After that, you can continue with a typical plant care routine. Keep a neem oil solution ready to go as the plants might be affected by pests or diseases.
Once the polka dot plant has grown full in size, it will become leggier. If your polka dot plant is legging too much, make sure to take the necessary precautions to get rid of legginess.
Wrap Up
Well, that is how you can propagate your polka dots plants. Follow the steps accordingly, and the success rate of your polka dot plant propagation will be pretty high.
To wrap up, let’s quickly recap what we did to propagate the polka dot plant.
- Find a healthy pest-free node
- Cut the stem just below the node
- Place the stem in water and wait till grow root
- Once the root is grown, place it on a new pot
If you would like to add anything, feel free to leave your thoughts below.
Leave a Reply